
UC AI v26.1: Multi-Agent Systems, Prompt Profiles & Responses API for PL/SQL
UC AI is a PL/SQL SDK for working with LLMs and generative AI in the Oracle database. You can use the latest models (also offline ones) from PL/SQL, with modern features like tools, reasoning, structured output, file analysis, and more.
Prompt Profiles
#Prompt profiles are a new feature in UC AI that allows you to store and manage your prompts in the database. You define the prompts, parameters, provider, model, etc. and later reference them.
DECLARE
  l_profile_id NUMBER;
BEGIN
  l_profile_id := uc_ai_prompt_profiles_api.create_prompt_profile(
    p_code => 'SUMMARIZE_TEXT',
    p_description => 'Summarizes text content in a specified style',
    p_system_prompt_template => 'You are a {style} assistant that creates concise summaries.',
    p_user_prompt_template => 'Summarize the following text: {text}',
    p_provider => uc_ai.c_provider_openai,
    p_model => uc_ai_openai.c_model_gpt_4o_mini
  );
END;
/
The documentation has more advanced examples including structured output, tools/function calling, reasoning, and versioning.
Multi-Agent Systems
#If we look at how humans solve complex tasks, we can see that we can get overwhelmed when given too much to do. One solution is to split up the work and have domain experts work together to solve a problem.
Turns out the same thing applies to LLMs. When an agent faces complicated tasks, many tools, or a large context, splitting the work across multiple specialized agents a multi-agent system can significantly improve results.
For a more in-depth guide with hands-on examples on how to implement multi-agent systems with UC AI, check out my two-day workshop.
Workflow vs. Autonomous Patterns
#There are multiple patterns for splitting up the work. We can differentiate between two main patterns: workflows and autonomous.
A workflow has a defined path – a sequence of steps. There can be some branching, or loops but always with logical conditions like an if statement. This is similar to APEX’s workflows feature or BPMN/Flows for APEX.
Autonomous patterns are more flexible. There is no defined path, the idea is to have the LLM decide which agent to call and when.
You want to use a workflow for well-defined problems where there is always an obvious path to follow for solving the problem. On the other hand, autonomous patterns are good for dynamic problems where you might need to adapt or creative/exploratory problems.
Sequential Workflow Example in PL/SQL
#We will just touch the surface in this blog post. See the UC AI workflow documentation for more details and examples.
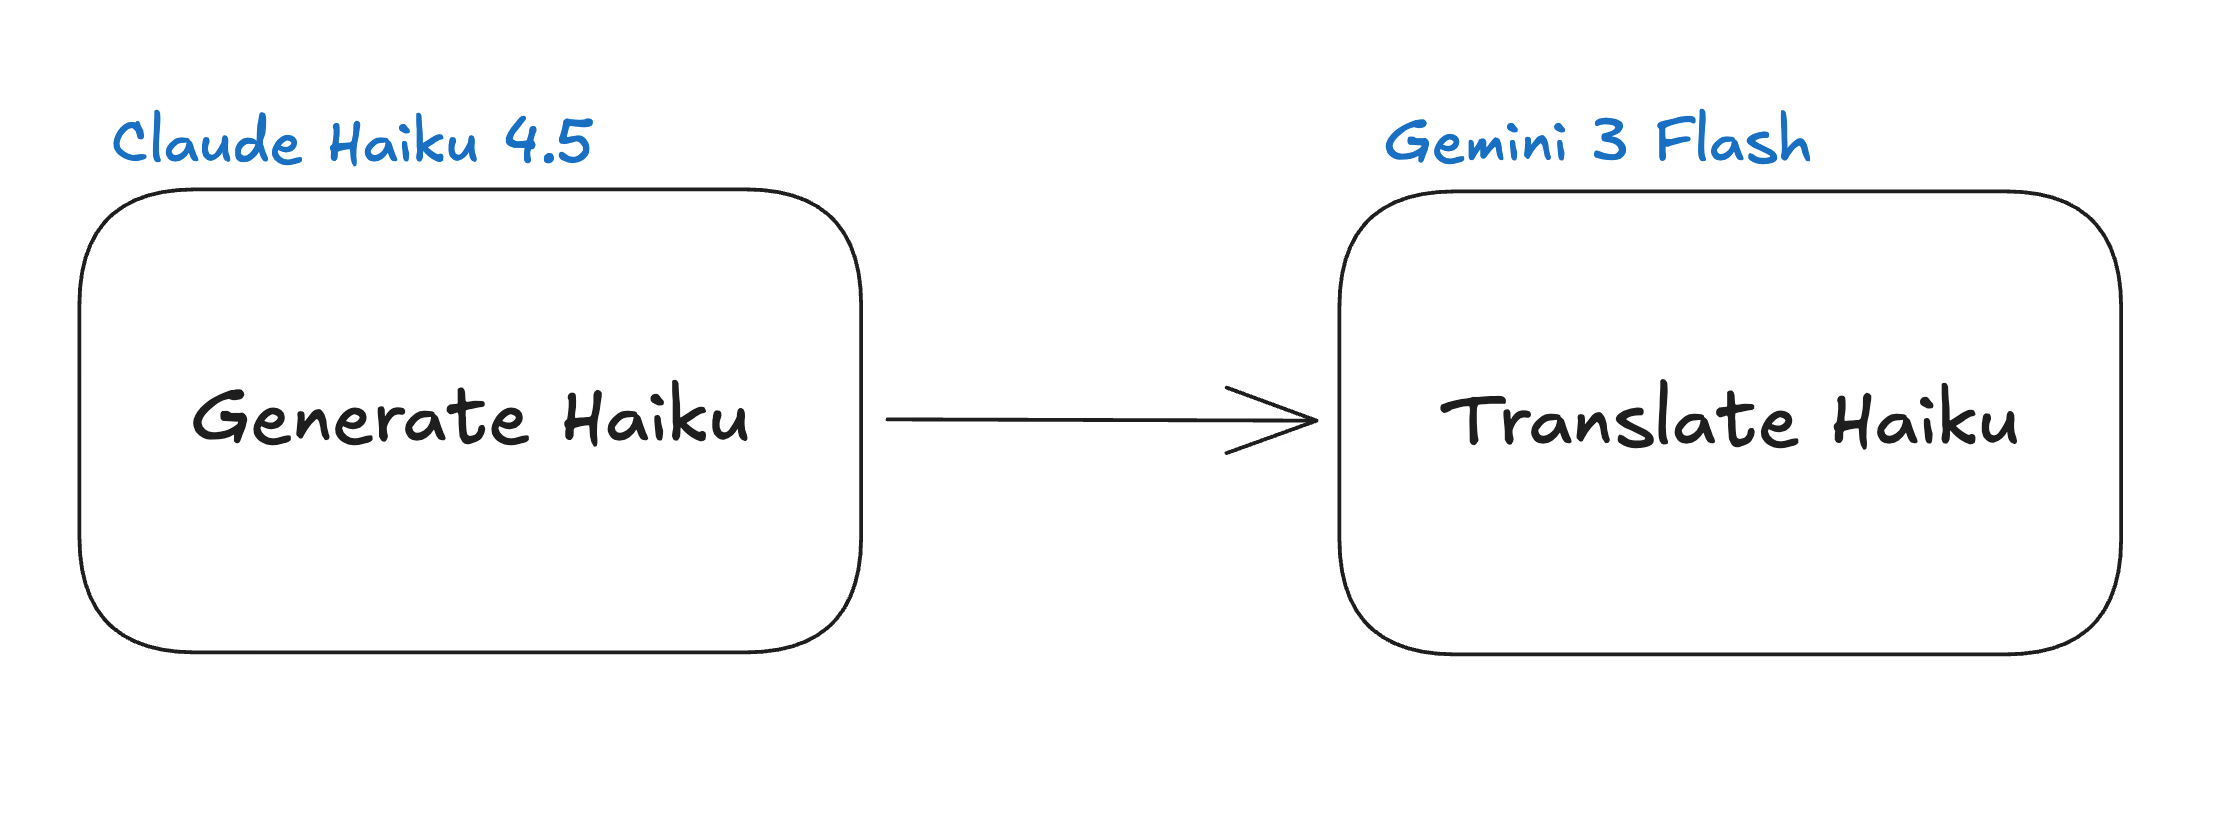
Haiku Generation and Translation
#Let’s take a super simple example to illustrate the workflow pattern. We want to generate a haiku (japanese poem) about a given topic. And then get it translated to a different language. We can split up the work into two agents: one for generating the haiku and one for translating it.
Prompt Profiles and Agents
#We first need to define prompt profiles for both agents, to have their instructions stored for later use. Note how we have the parameters {topic}, {haiku}, and {language} in the user prompt template. These parameters will be filled with the actual values when we call the agents in our workflow.
declare
  l_id number;
begin
  l_id := uc_ai_prompt_profiles_api.create_prompt_profile(
    p_code                  => 'HAIKU_POET_PROFILE',
    p_description           => 'Creates haikus about given topics',
    p_system_prompt_template => 'You are a haiku poet. Create one beautiful haiku following
                                 the traditional 5-7-5 syllable pattern.',
    p_user_prompt_template  => 'Write a haiku about: {topic}.',
    p_provider              => uc_ai.c_provider_anthropic,
    p_model                 => uc_ai_anthropic.c_model_claude_haiku_4_5,
    p_status                => 'active'
  );
  l_id := uc_ai_prompt_profiles_api.create_prompt_profile(
    p_code                  => 'HAIKU_TRANSLATOR_PROFILE',
    p_description           => 'Translates haikus to different languages',
    p_system_prompt_template => 'You are a haiku translator. Translate haikus to the specified language
                                 while preserving the traditional 5-7-5 syllable pattern.',
    p_user_prompt_template  => 'Translate this haiku to {language}: {haiku}',
    p_provider              => uc_ai.c_provider_google,
    p_model                 => uc_ai_google.c_model_gemini_3_flash,
    p_status                => 'active'
  );
end;
Now we need to make agents out of these profiles. Agents are a layer on top of profiles. They add observability and, more importantly, enable composability in multi-agent systems. We just call the create_agent procedure and link the prompt profiles we just created to the agents.
declare
  l_id number;
begin
  l_id := uc_ai_agents_api.create_agent(
    p_code                  => 'HAIKU_POET_AGENT',
    p_description           => 'Creates haikus about given topics',
    p_agent_type            => uc_ai_agents_api.c_type_profile,
    p_prompt_profile_code   => 'HAIKU_POET_PROFILE',
    p_status                => uc_ai_agents_api.c_status_active
  );

  l_id := uc_ai_agents_api.create_agent(
    p_code                  => 'HAIKU_TRANSLATOR_AGENT',
    p_description           => 'Translates haikus to different languages',
    p_agent_type            => uc_ai_agents_api.c_type_profile,
    p_prompt_profile_code   => 'HAIKU_TRANSLATOR_PROFILE',
    p_status                => uc_ai_agents_api.c_status_active
  );
end;
Define Workflow Agent
#Now we can define the actual workflow agent that will call the two agents we just created in the right order. For that we have a JSON definition with a steps array. Each step references an agent we created earlier and defines how to map the input and output via input_mapping and output_key. At last we create the workflow agent with the type c_type_workflow.
declare
  l_id number;
  l_workflow_def clob;
begin
    l_workflow_def := '{
      "workflow_type": "sequential",
      "steps": [
        {
          "agent_code": "HAIKU_POET_AGENT",
          "input_mapping": {
            "topic": "{$.input.topic}"
          },
          "output_key": "step1_result"
        },
        {
          "agent_code": "HAIKU_TRANSLATOR_AGENT",
          "input_mapping": {
            "haiku": "{$.steps.step1_result}",
            "language": "{$.input.language}"
          },
          "output_key": "step2_result"
        }
      ]
    }';

    l_id := uc_ai_agents_api.create_agent(
      p_code                => 'HAIKU_WORKFLOW_AGENT',
      p_description         => 'Create haikus about given topics and translate them to a specified language',
      p_agent_type          => uc_ai_agents_api.c_type_workflow,
      p_workflow_definition => l_workflow_def,
      p_status              => uc_ai_agents_api.c_status_active
    );
end;
See how step1_result is used to pass the generated haiku from the first step to the second step? This is how we can pass information between the steps in our workflow.
Execute Agent
#Executing the final agent is then as simple as calling the execute_agent function while passing our input parameters as JSON:
declare
  l_result json_object_t;
begin
  l_result := uc_ai_agents_api.execute_agent(
    p_agent_code       => 'HAIKU_WORKFLOW_AGENT',
    p_input_parameters => json_object_t('{"topic": "Nature", "language": "french"}')
  );

  sys.dbms_output.put_line('French Haiku: ' || l_result.get_clob('final_message'));
end;
To get more details about the individual executions you can query the uc_ai_agent_executions table.
Real World Example
#In the real world, you could build an invoice processing agentic system. Instead of having one agent do everything, we have four different ones:
- Extractor: Extracts the relevant information from the invoice (e.g. amount, due date, etc.)
- Validator: Validates the extracted information (e.g. checks if the amount is correct, if the due date is valid, cross-references the information with our database information, etc.)
- Categorizer: Categorizes the invoice (e.g. is it a utility bill, a rent bill, etc.)
- Responder: Responds to the user with the extracted information and validation results.
Orchestrator Pattern Example
#There are multiple different autonomous patterns. UC AI supports the orchestrator pattern and the conversation/group chat pattern.
We will use an orchestrator example where we implement a travel agent. It will have four domain agents: Calendar, Flight, Hotel, and Cost Control.
In real life, each agent has access to tools like the user’s calendar or hotel booking APIs, and knows the user’s preferences and budget. The orchestrator agent will then decide which agent to call and when based on the user’s request and the information it gets back from the agents. I will skip creating the prompt profiles and agents for the domain agents and just show the orchestrator definition to give you an idea of how it works.
Orchestrator Prompt Profile
#We have a simplified system prompt that describes the orchestrator’s role and the tools it has access to. The user prompt just takes the user’s request as a parameter.
declare
  l_profile_id number;
begin
   l_profile_id := uc_ai_prompt_profiles_api.create_prompt_profile(
    p_code                  => 'travel_planner_orchestrator',
    p_description           => 'Orchestrates travel planning',
    p_system_prompt_template => 'You are a travel planning coordinator.
 You have access to calendar, flight, and hotel booking agents.
 First check the calendar for constraints, then find flights and hotels that fit.
 Always check with the cost control agent to ensure options are within budget.
 Minor adjustments to options are fine, but if major changes are needed, check back with the user.
 Provide a recommended travel plan with reasoning.',
    p_user_prompt_template  => '{prompt}',
    p_provider              => uc_ai.c_provider_openai,
    p_model                 => uc_ai_openai.c_model_gpt_5_mini,
    p_status                => uc_ai_prompt_profiles_api.c_status_active
  );
end;
Orchestrator Agent Definition
#The agent definition is pretty straightforward. We just reference the prompt profile we created in the previous step and set as the orchestrator_profile_code the agent type to c_type_orchestrator. The domain agents that the orchestrator can call are defined in the delegate_agents array. Lastly, we set a maximum number of delegations to prevent infinite loops.
declare
  l_orchestrator_id NUMBER;
  l_orch_config     CLOB;
begin
  l_orch_config := '{
    "pattern_type": "orchestrator",
    "orchestrator_profile_code": "travel_planner_orchestrator",
    "delegate_agents": [
      "calendar_agent",
      "flight_booking_agent",
      "hotel_booking_agent",
      "cost_control_agent"
    ],
    "max_delegations": 8
  }';

  l_orchestrator_id := uc_ai_agents_api.create_agent(
    p_code                 => 'travel_planner',
    p_description          => 'Plans travel by coordinating calendar, flights, and hotels',
    p_agent_type           => uc_ai_agents_api.c_type_orchestrator,
    p_orchestration_config => l_orch_config,
    p_status               => uc_ai_agents_api.c_status_active
  );
end;
Now we can call the travel_planner agent with a user request like “Plan a trip to Paris for me from the 1st to the 7th of next month, keeping costs under $1500.” The orchestrator will then coordinate the different domain agents to come up with a travel plan that fits the user’s request and constraints.
Under the hood the delegate agents will be registered as tools for the orchestrator agent. So when the orchestrator decides to call one of the domain agents, it is basically calling a tool.
When to Use Multi-Agent Systems
#These are just very simple examples to illustrate the concepts. In real life, multi-agent systems can get very complex with many different agents and intricate interactions between them. But the main idea is to split up complex problems into smaller, more manageable pieces and have specialized agents work together to solve the problem.
Definitely consult our documentation for more details and examples on how to implement multi-agent systems with UC AI.
And if you want a deeper introduction to agentic AI, you can join my two-day workshop, there are new dates for April/May.
Responses API
#OpenAI recently standardized their Responses API, which replaces the Chat API as the recommended way to interact with LLMs.
UC AI v26.1 includes support for the new API. Currently you have to opt-in to use the new API by setting uc_ai.g_use_responses_api to true. The old Chat API will still be supported for the foreseeable future, but the default will be switched to the new Responses API in a future release.
This is also exciting as other providers also have adopted the new API. For example OpenRouter and OCI will per default use the new API via UC AI as well.
Outlook
#In the next release(s) I want to enhance the multi-agent system capabilities. I want to integrate the handoff autonomous pattern, and improve the workflows to allow for conditional and parallel steps. Additionally the observability and monitoring features for multi-agent systems will be improved with better logging.
If you want to follow the development more closely, you can check out the GitHub repo (maybe leave a star if you like the project).