
Creating an Offline-Ready SvelteKit Application Using SQLite (Part 1): Setting up the Database
If you’re looking for a more visual and interactive way to learn about the topic of this post, check out
my YouTube video on the same subject
.
Web is the most accessible platform
#The web has been around for some time. It has evolved from a simple document sharing platform to a dynamic environment for building complex applications. Over the years, many use cases that were once reserved for native applications have migrated to the web. A considerable number of “native” apps on my laptop nowadays are powered by web technologies, such as VS Code, the code editor I’m using to write this post.
Although this transition has come at the cost of reduced efficiency, it offers numerous benefits. For me, the most crucial aspect is accessibility. It’s a significant technological achievement that almost anyone in the world can create some HTML (with or without CSS and JS) and share it with the world. The web is no exclusive club, almost any internet-connected device can visit websites. The web can be accessed through watches, fridges, and even cars, which is truly remarkable.
The Need for Offline Apps
#Data-driven web applications are increasingly popular today. However, when there’s no internet connection, accessing your data becomes impossible, causing problems in various situations. For instance, in Germany, where mobile data is expensive and rural reception is poor, this can be particularly troublesome.
With the introduction of Progressive Web Apps (PWA) we now have features that enable us to develop web apps with a native-like feel. One such advancement includes building apps that operate seamlessly even without an active internet connection.
Where to Store the Data
#We will explore storing the HTML, JS, and CSS files in one of the upcoming parts of this blog series. The more challenging aspect is storing the user-data, which is the central part of a data-driven app.
The browser offers two built-in solutions for this scenario:
LocalStorage is not ideal for this use case, as it’s not designed for huge amounts of data. It has size limitations and is not that fast.
IndexedDB is the browser’s intended way to store large amounts of data. It is transactional, object-oriented, key-indexed, and allows schema definition. The API is a bit complex (at least for me as an SQL enthusiast) but there are libraries (like Dexie), that make it easier to use.
IndexedDB has some pain points, such as past Safari bugs and its lack of ACID compliance. Paulus Esterhazy summarized the downsides of IndexedDB in a great Gist.
If I hadn’t found this tweet, I would have happily used IndexedDB for client-side storage:
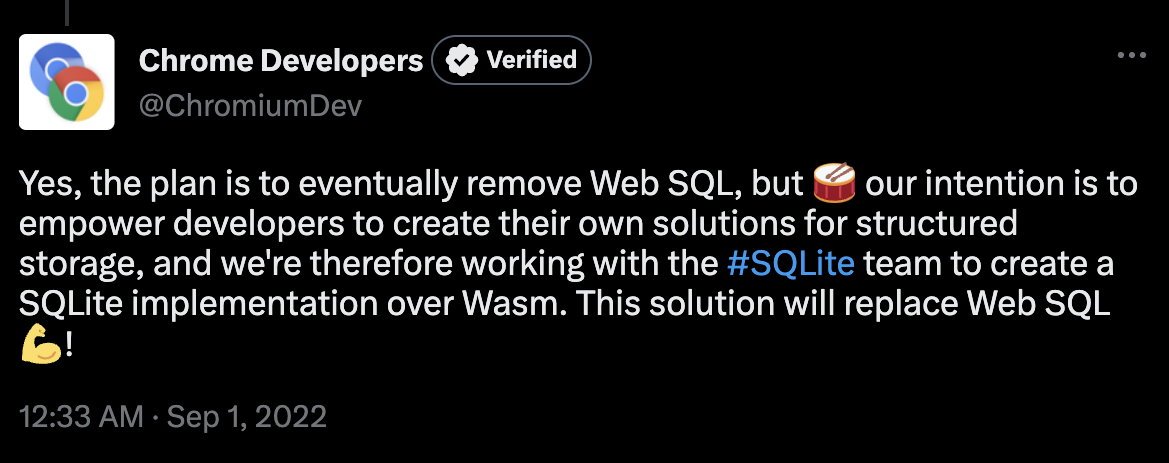
Why SQLite is Amazing
#SQLite is my favorite database due to its simplicity, power, and speed. I don’t want to go into details, but here are some reasons why this software is so remarkable:
- Most used database, top 5 most deployed software ever (estimated one trillion active DBs)
- Full-featured SQL
- ACID compliant
- Transactional
- Public Domain
- Serverless (not cloud buzzword, just no server needed as it is a library you can use in your app)
- Stores data in a single file
- Recommended Storage Format by the US Library of Congress
Read more about SQLite on their site.
SQLite in the Browser
#As the Tweet shows, SQLite is now available in the browser thanks to WebAssembly (short WASM). This is a low-level, portable, binary code format that can be a compilation target for a wide variety of languages.
Another factor is the Origin Private File System (short OPFS) which adds a private file system for web apps. This feature can be used to store the SQLite database file.
Integrating SQLite WASM into SvelteKit
#Download
#The first step is to download the SQLite WASM library. You can find it on the SQLite site. Under the section “WebAssembly & JavaScript” you can get a zip with all the files you need.
Prepare your SvelteKit project
#Before integrating SQLite into your project, you need to install the following dependencies:
yarn add -D vite-plugin-cross-origin-isolation vite-plugin-mkcertThe first dependency, vite-plugin-cross-origin-isolation, modifies the default Vite configuration to enable the Cross-Origin Isolation (COOP/COEP) headers. This is required to use the OPFS because it relies on SharedArrayBuffers. The second dependency, vite-plugin-mkcert, generates a local certificate, allowing you to run the local development server with HTTPS enabled.
You then need to load the Vite plugins in your config:
import { sveltekit } from '@sveltejs/kit/vite';
import { defineConfig } from 'vite';
import mkcert from 'vite-plugin-mkcert';
import crossOriginIsolation from 'vite-plugin-cross-origin-isolation';

export default defineConfig({
  server: {
    https: true,
    proxy: {},
  },

  plugins: [sveltekit(), mkcert(), crossOriginIsolation()],
});
After installing the dependencies, copy the jswasm folder from the downloaded zip file into the lib/sqlite directory. This folder contains the WASM file and the JavaScript glue code had to run SQLite in your project.
Set up a Web Worker
#To avoid blocking the main thread, it’s necessary to run SQLite in a Web Worker. This is a general best practice, as it allows background execution of CPU-intensive tasks.
We need to add some overhead for the WebWorker initialization and communication. As I use TypeScript, I set up some type definitions:
export enum WorkerMessageTypes {
  INIT_DB,
  INIT_DB_RESPONSE,
}

export type WorkerMessage = {
  type: WorkerMessageTypes;
};
Now we can start creating our Web Worker. We just start with a simple message event listener:
/* eslint-disable no-case-declarations */
import { WorkerMessageTypes, type WorkerMessage } from '../types';

console.log('worker loaded');

// event listener for messages from the main thread
(async function () {
  addEventListener(
    'message',
    async function ({ data }: { data: WorkerMessage }) {
      console.log('worker received message:', data.type);

      let res: WorkerMessage;

      switch (data.type) {
        case WorkerMessageTypes.INIT_DB:
          console.log('todo: init sqlite');

          break;

        default:
          throw new Error(`Unknown message type: ${data.type}`);
      }
    }
  );
})();
We can now import this worker into our main app and send a message of the type INIT_DB:
import { WorkerMessageTypes, type WorkerMessage } from './types';

// import the worker script
const workerImp = await import('./worker/worker.ts?worker');

export default function initWorker() {
  // initialize the worker
  const worker = new workerImp.default();

  const msg: WorkerMessage = { type: WorkerMessageTypes.INIT_DB };
  console.log(`Sending message to worker:`, msg);
  // we can send messages to the worker with postMessage
  worker.postMessage(msg);

  // add a message listener to the worker to get the responses
  worker.addEventListener(
    'message',
    async ({ data }: { data: WorkerMessage }) => {
      console.log('Received message from worker:', data.type);
    }
  );
}
Initialize SQLite
#We still need to add the logic that actually initializes SQLite. For that, create the following file:
/* eslint-disable @typescript-eslint/no-explicit-any */
import type { DB } from 'sqlite3oo1';

const DB_NAME = 'file:///offline-db.sqlite';
export let db: DB;

declare global {
  function sqlite3InitModule(options: {
    print: object;
    printErr: object;
  }): Promise<void>;
}

type InitDbReturn = {
  ok: boolean;
  error?: string;
};

export async function initDb(): Promise<InitDbReturn> {
  return new Promise((resolve) => {
    try {
      self
        .sqlite3InitModule({ print: console.log, printErr: console.error })
        .then((sqlite3: any) => {
          try {
            console.log('Initialized sqlite3 module.', sqlite3);

            // use the object oriented API: https://sqlite.org/wasm/doc/trunk/api-oo1.md
            const oo = sqlite3?.oo1 as any;
            const capi = sqlite3.capi as any;
            const opfsFound = capi.sqlite3_vfs_find('opfs');
            console.log(
              'sqlite3 version',
              capi.sqlite3_libversion(),
              capi.sqlite3_sourceid(),
              `OPFS? ==> ${opfsFound}`
            );
            if (opfsFound) {
              db = new oo.OpfsDb(DB_NAME) as DB;
              console.log('The OPFS is available.');
            } else {
              // fallback to non-persistent opfs storage
              // you migh not want to do this and instead show a message to the user that the app is not available offline
              db = new oo.DB(DB_NAME, 'ct') as DB;
              console.log('The OPFS is not available.');
            }
            console.log('transient db =', (db as any).filename);

            // optimize for speed (with safety): https://cj.rs/blog/sqlite-pragma-cheatsheet-for-performance-and-consistency/
            db.exec([
              'PRAGMA journal_mode = wal;',
              'PRAGMA synchronous = normal;',
            ]);

            resolve({ ok: true });
          } catch (e: any) {
            console.error(`Could not initialize database: ${e.message}`);
            resolve({ ok: false, error: e.message });
          }
        });
    } catch (e: any) {
      console.error(`Could not initialize database: ${e.message}`);
      resolve({ ok: false, error: e.message });
    }
  });
}
You can get my type definitions (for the sqlite3oo1 module) from GitHub. These are incomplete, but should be enough for a basic app.
We still need to call this function from our worker. So add the following code to the switch statement in src/lib/sqlite/worker.ts:
// ...
import { initDb } from './initDb';

// ...

switch (data.type) {
  case WorkerMessageTypes.INIT_DB:
    // load the sqlite3 module
    await import('../jswasm/sqlite3.mjs');

    // call our init db function
    const initRes = await initDb();
    console.log('worker initDb result:', initRes);
    res = { type: WorkerMessageTypes.INIT_DB_RESPONSE };
    console.log('worker sending message back to main:', res);
    this.postMessage(res);
    break;

  default:
    throw new Error(`Unknown message type: ${data.type}`);
}
Load the Web Worker
#To load the Web Worker in the Svelte app, add a global +layout.svelte file, which executes the code on every page.
<script>
  import initWorker from '$lib/sqlite/loadWorker';
  import { onMount } from 'svelte';

  onMount(() => {
    initWorker();
  });
</script>
Implement a Database File Utility
#Since SQLite is a file-based database, we can create a small utility to enable users to download or delete the database file, which is useful for development and debugging purposes.
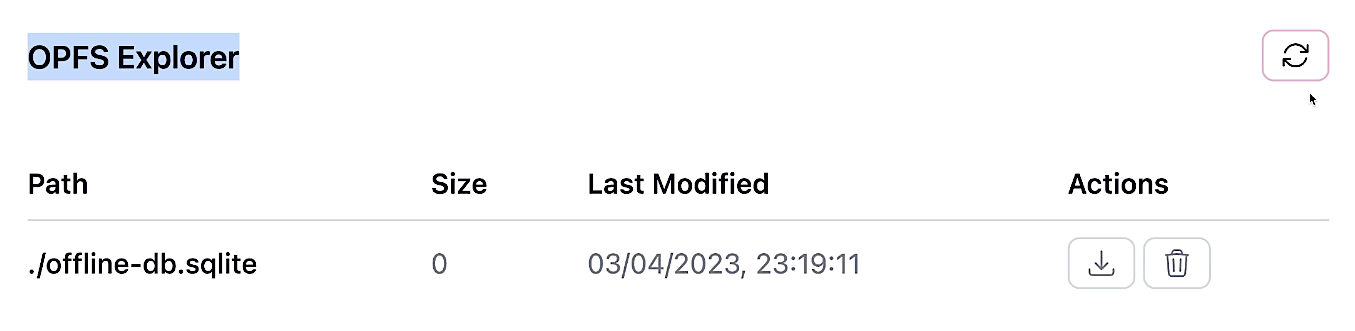
I created a small component that you can find on GitHub. It is based on Thomas Steiner’s opfs-explorer browser add-on. I implemented the component in a modal dialog.
Conclusion
#We now have set up SQLite on the client as a storage solution. In the next part of this series, we will explore how to use this database to store data for our app. Currently, the database is initialized but empty.
You can find the code for this part of the series on GitHub.