
Oracle APEX anchored inline popups for data input
You can also watch this video on YouTube that features the same topic visually.
Anchored Popups
#While watching a recent APEX Office Hour episode, I noticed a button that triggered a small popup with an input field that was anchored to the button. Here is a small example of it from the “Sample Approvals” application:
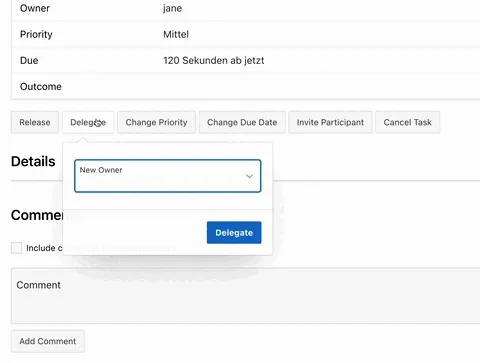
I first thought that this was a new feature in APEX 22.2, but it turns out that this is not the case. I got suspicious that I could not find this in the release notes and validated that this is also achievable in an APEX 19.2 environment. So the feature has been around for a while, but I never noticed it before.
I think from a User-Experience point this feature offers two advantages. First, you can hide an input in a popup so the page does not get cluttered with input fields that the user might not need every time. Second, the popup position and visuals offer a smooth transition from the button click to discovering the input field. A standard centered popup with a darkened background is a bit jarring and might distract the user from the main task. It feels like a “hard cut”.
How to implement this popup
#We can start the same way as implementing a normal inline popup:
- Create the triggering button
- Create the popup region (position: “Dialogs, Drawers, Popups” and template: “Inline Popup”)
- Create a dynamic action on the button click and add an “Open Region” action and select your popup region
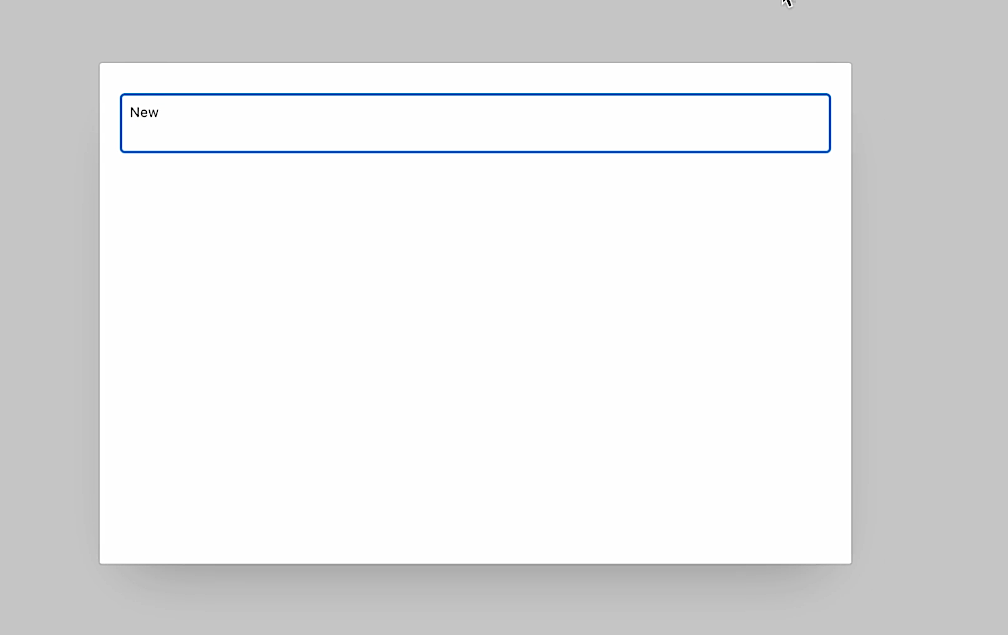
Now we get our standard inline popup:
To get the neat anchored one from the office hours we need to change the template options of the popup region. Check “Auto Height”, “Remove Page Overlay” and “Display Popup Callout”. Additionally, we need to change the size to “None”.
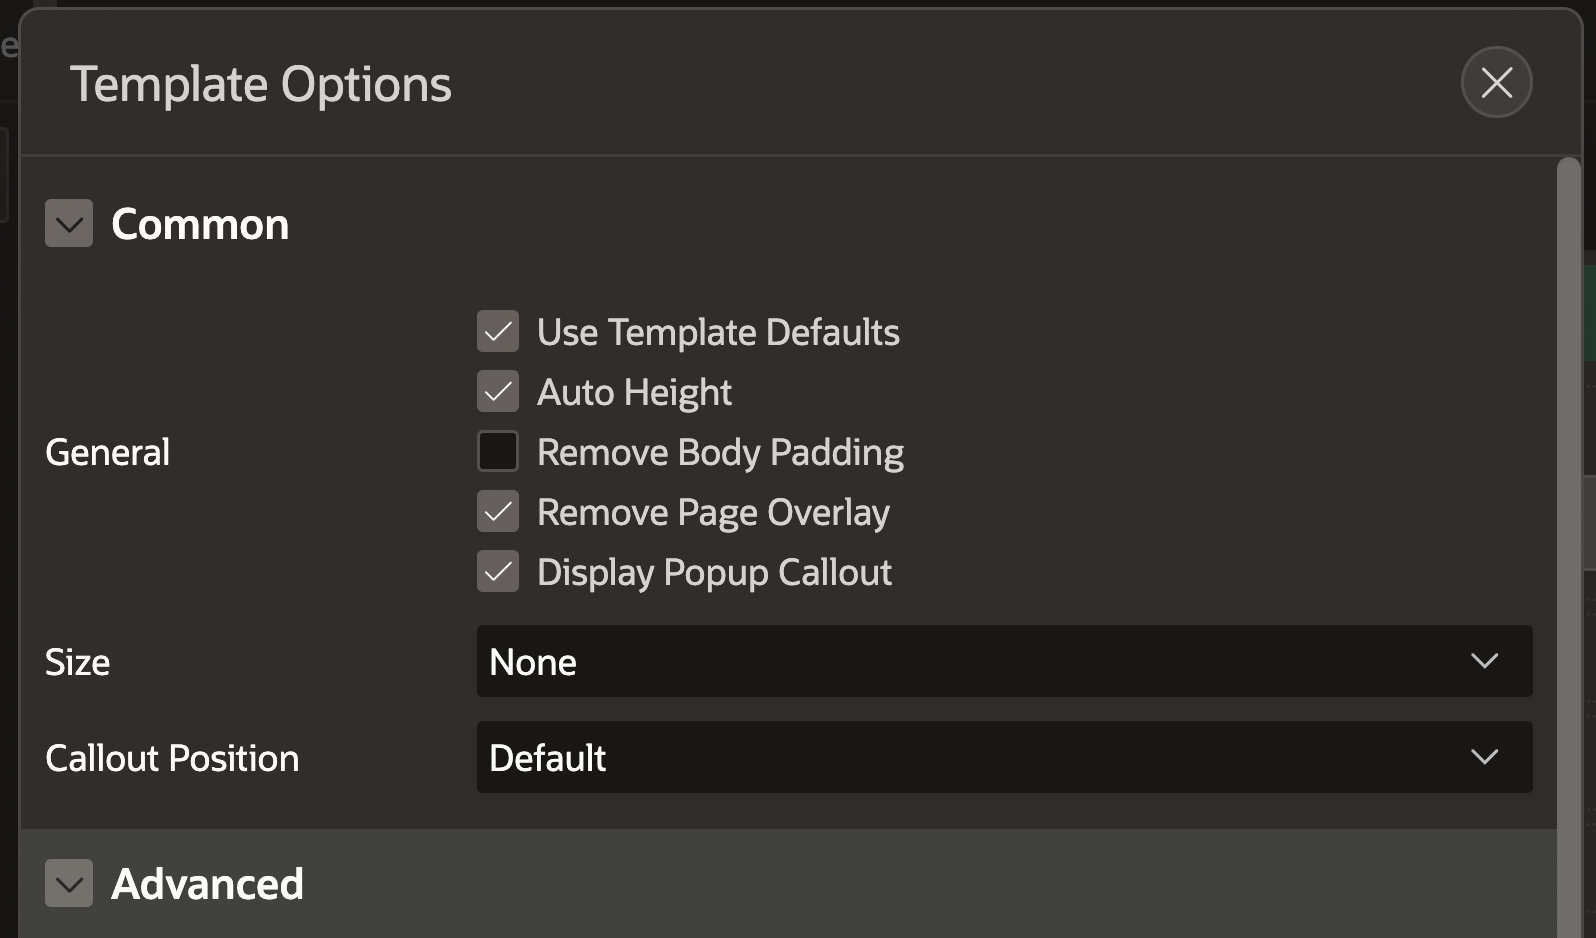
We also need to add a static ID to the calling button. Now go back to the popup region to “Custom Attributes” and add the following:
data-parent-element="#ID_OF_THE_CALLING_BUTTON"With this magic attribute we are set and get the popup positioned to the button.
Binding the popup dynamically
#My next idea was to bind the popup to a click of a button on a cards region. The problem is that each card has its own button so we need to bind the popup to the card button that was just clicked.
We will now enter the undocumented territory. The following is not officially supported by Oracle and might break in future versions. So use at your own risk and at best only in fun projects.
It is not as easy as it looks
#Unfortunately, it is not enough to change the referenced element in the data-parent-element HTML attribute.
This attribute is checked on page load and this point is the popup positioned.
This results in changes to the attribute not having any effect.
Setup
#I recommend watching this video of the next steps because we have lots to do and seeing it will make it easier to follow.
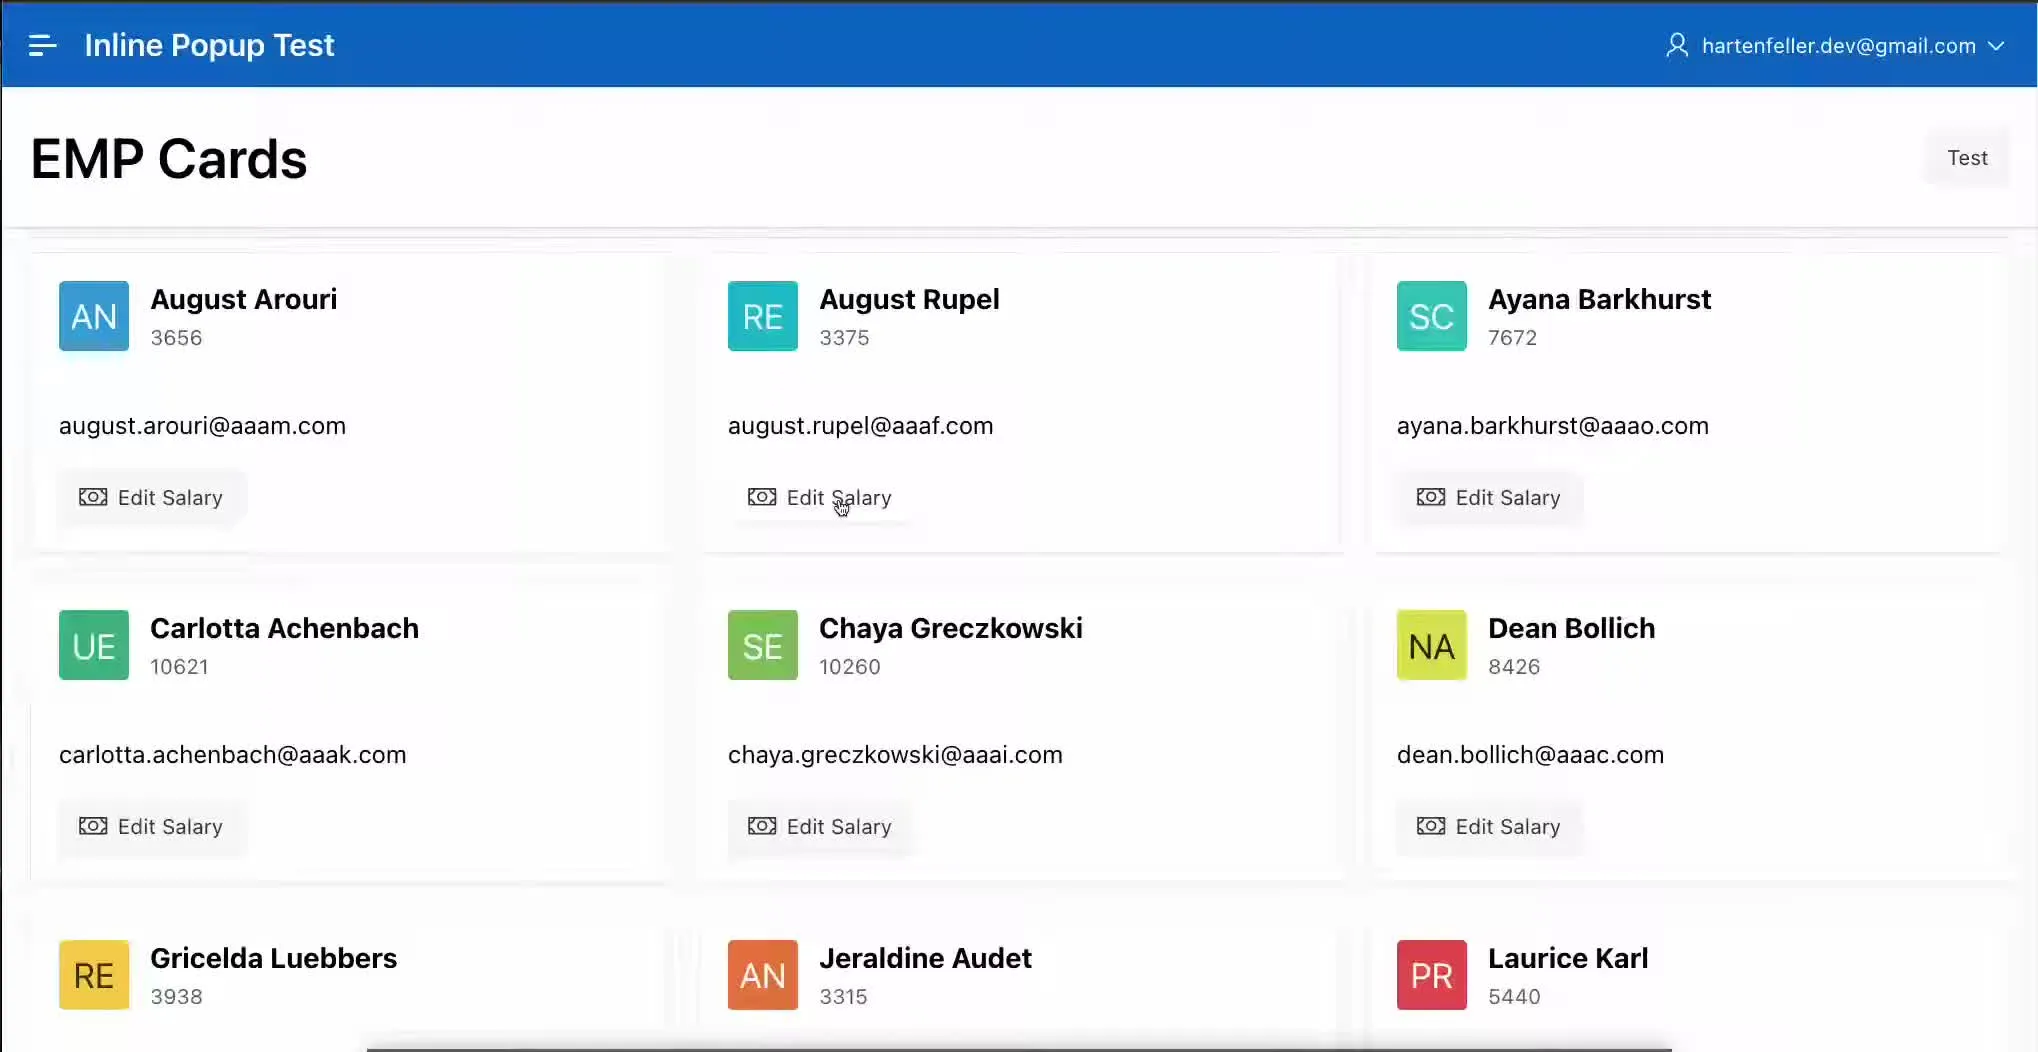
Cards Region
We start by creating a card region. In my example, I used a sample employees table.
- Add button to the card region (Actions > Add Action > Type: Button)
- Set Link type to “Redirect to URL”
- Add the following target:
#action$edit-salary?id=&ID.&sal=&SALARY. - Add ID to button in Link Attributes:
id="SAL-BTN-&ID."
Note that we reference the two columns ID and SALARY in the target URL and the ID attribute. Make sure to include these columns in the region source. Because we want to update the salary we first need the current salary and second the ID to update the correct row. The ID column is also used to add an HTML ID to the button we can later use to reference it and position the popup.
The link target uses the APEX actions API. You can find more about it here.
Create the popup
Create the popup region as we did before. Now we can add two page items to the region. First the salary input field and second a hidden one that will store the ID of the currently edited row. We also need a button to invoke the save process.
We again need to add a data-parent-element attribute to the popup region. This seems odd but it need to reference anything static on the page. For example a random button. We need APEX to run the initialization binding code so we can modify the result later:
data-parent-element="#ANY_RANDOM_BUTTON"Additionally, we need to set a static ID to the popup region.
Define the called action
In a referenced JavaScript file or in “Execute when Page Loads” we need to define the action that is called from the link.
We use the following code:
apex.jQuery(window).on('theme42ready', () => {
  apex.actions.add([
    {
      name: 'edit-salary',
      Label: 'Edit Salary',
      action: (event, element, args) => {
        apex.items.P2_SALARY.setValue(args.sal);
        apex.items.P2_EDIT_SAL_ID.setValue(args.id);

        return true;
      },
    },
  ]);
});
Create a dynamic action to open the region
The popup still needs to be opened.
To achieve this we create a dynamic action that runs when our previously set item P2_EDIT_SAL_ID is changed.
This means that our defined action directly triggers the dynamic action.
In there we just use the “Open Region” step to open the popup region.
Create save dynamic action
The dynamic action that saves the salary to the database should be triggered on the button click of the popup. As action we run the DML code that updates the salary:
update emp_demo
   set salary = :P2_SALARY
 where id = :P2_EDIT_SAL_ID;
Don’t forget to add both page items to “Items to Submit”. Now we can run “Close Dialog” and optionally refresh the cards region to reflect the changes.
Finally the dynamic binding part
Currently, the popup is bound to the random button we assigned in the data-parent-element attribute.
Now we need to change this target by changing some code in the action JavaScript:
apex.jQuery(window).on('theme42ready', () => {
  apex.actions.add([
    {
      name: 'edit-salary',
      Label: 'Edit Salary',
      action: (event, element, args) => {
        // get ID of clicked cards button
        const $popupAnchor = $(`#SAL-BTN-${args.id}`);

        // sal_popup is the ID of the popup region
        // get the "apexPopup" attribute of the popup region
        // this stores the jQuery magic that is computed on page load
        // and binds the popup to the anchor
        let temp = $('#sal_popup').data('apexPopup');

        // change the properties of the popup anchor
        temp.positionTo$ = $popupAnchor;
        temp.options.parentElement = `#SAL-BTN-${args.id}`;
        temp.options.position.of = $popupAnchor;

        apex.items.P2_SALARY.setValue(args.sal);

        // add a small delay to make sure the popup is
        // positioned correctly before opening
        setTimeout(() => {
          apex.items.P2_EDIT_SAL_ID.setValue(args.id);
        }, 100);
        return true;
      },
    },
  ]);
});
This is now the undocumented unsafe part.
I just found out that the popup region stores the jQuery magic that binds the popup to its anchor in the apexPopup data attribute.
After changing some properties of this object we can make the popup appear at a different position.
Et voilà! We are done and the popup will now position dynamically to the clicked button.